How To use Threaded Inserts in Resin 3D Prints
Have you ever had a piece of equipment that you disassembled more than once and then realized that the screws didn’t bite anymore because all of the plastic got ripped out of the hole and now it’s totally useless? This is where heat-set inserts come into play. They are melted into the plastic so that you can repeatedly assemble and disassemble your creations without losing any functionality and you can find them in a ton of professional equipment. If you designed something that needs to be robust and where you regularly need to work on, heat set inserts are a great way to achieve that goal. I have already done a couple of videos on that subject and compared the performance of different types and techniques. After all of this, we even started selling our own and the first lead-free brass heat-set inserts for 3D prints in our own shop at cnckitchen.store and at different resellers all around the world because we believe they are a way to get functional 3D prints to the next level.
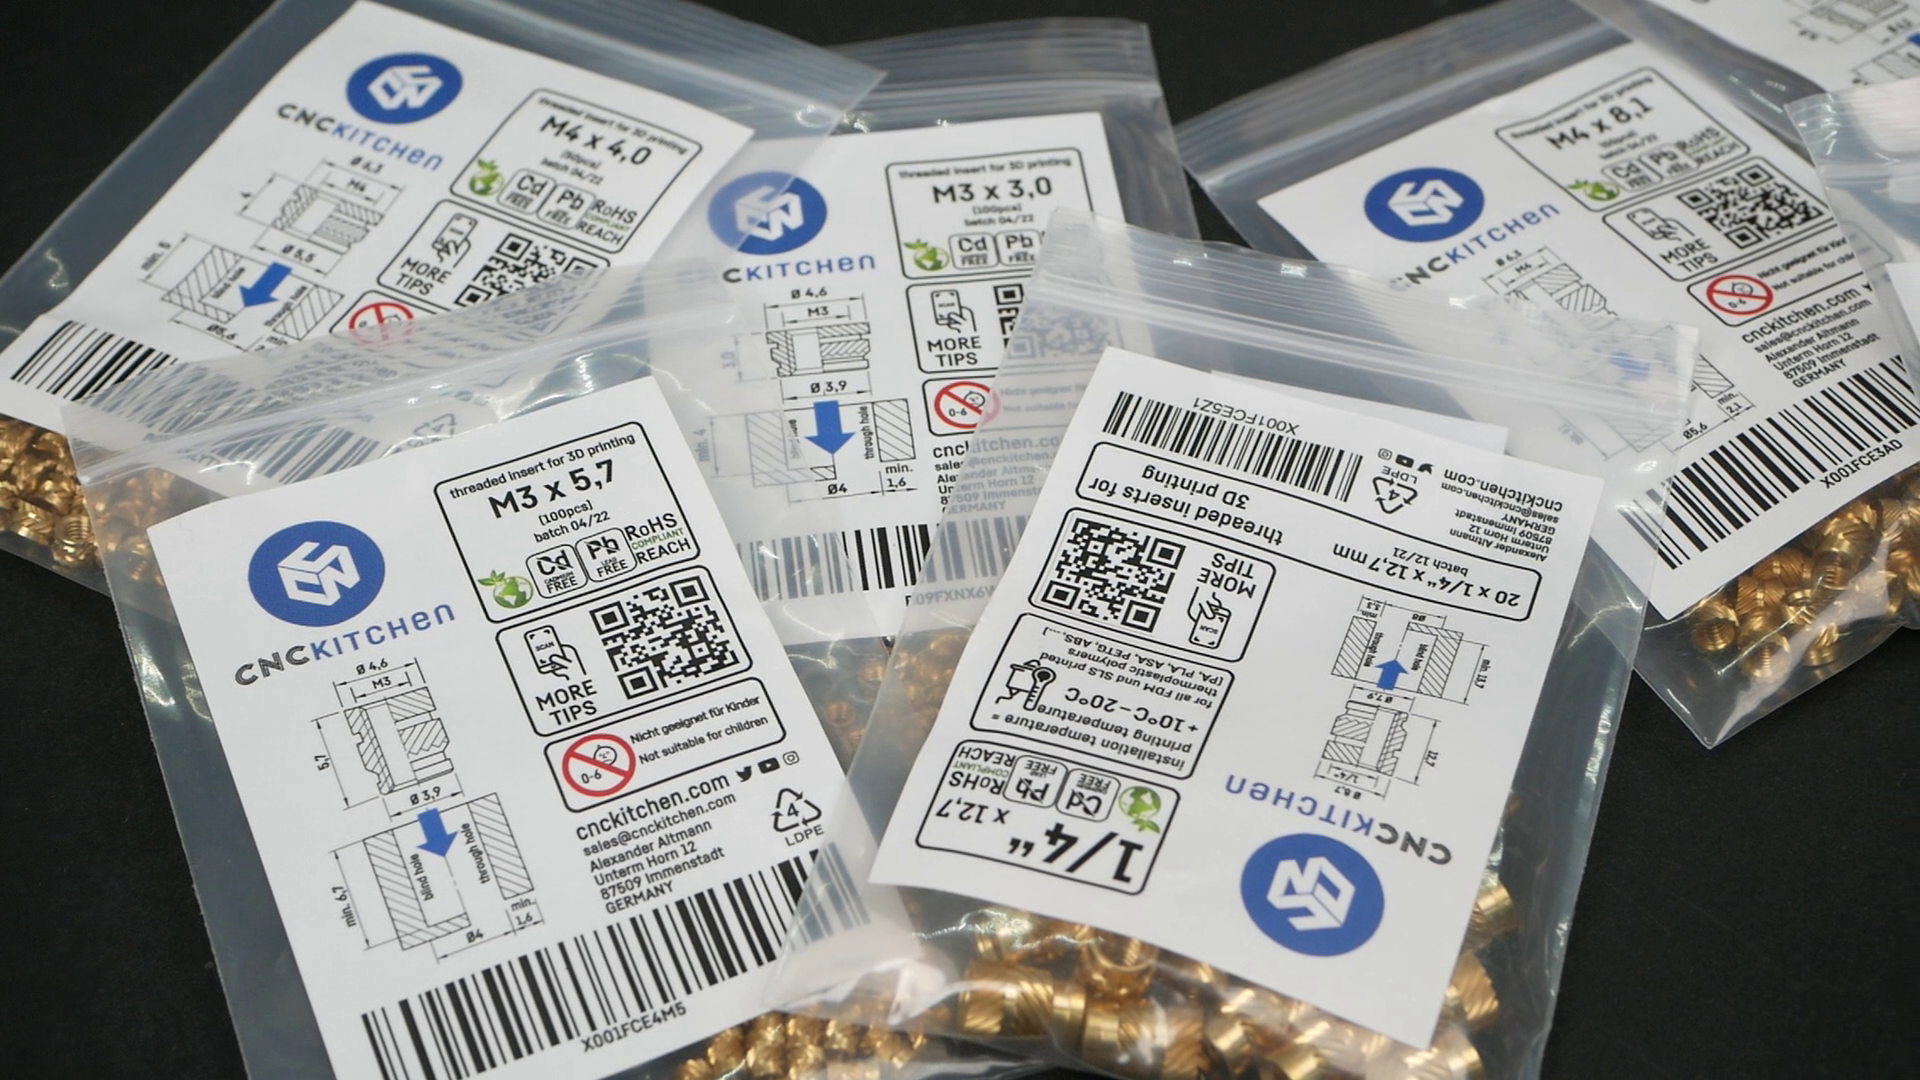
CNC Kitchen Heat Set Inserts
Yet, so far, we strictly said that these threaded inserts can only be used in parts made from thermoplastic polymers, so plastics that melt when hot and then solidify again. This is what of course the most common FDM printers use, yet resin printing has also seen a huge growth in the last years. When I recently received the “Proper Extruder” from YouTube colleague Proper Printing I was quite excited when I saw that he had been using heat-set inserts in many of his resin parts. Jon told me that he of course didn’t melt them into his parts but tried using different techniques until he was able to satisfyingly mount the inserts in his extruder parts for a unique look and added functionality.

Proper Printing’s “Proper Extruder” (Belt Extruder)
And this is exactly what I also investigated in this video. After not doing barely any resin printing on my channel for the last 3 years I finally wanted to dip my toes into resin printing again to tell you how you’re able to use heat-set inserts in your resin prints in the future and what strength you can expect.
I’ve used two different resins: Elegoo Translucent Resin and Prusas Tough Anthracite Resin, both printed on the Prusa SL1S Speed. The reason why I chose these UV resins in particular will become obvious in a bit.

PRUSAMENT Tough Resin & Elegoo Translucent Resin
If you want to screw into a 3D print there are several ways to do this, and I tested a bunch. The test samples are simple plates, that are just as long as the inserts, so always the same thread length is engaged, regardless of which method I test. First you can simply screw into a slightly undersized hole. Then you can tap the hole like you would a metal part. Then you can directly model the threads in CAD and even the small M3 threads that I used for this test are in no way a problem to reproduce on an MSLA resin 3D printers and even FDM printers are able to achieve more than you might think. The only thing that I usually do is to add an additional offset in Fusion360 on the threads to allow a bit of tolerance. For M3 this is usually around 0.05 mm but varies depending on the resin, printing orientation, and how easily you can wash the uncured resin out of the hole.

Threads Printed on the Prusa SL1S Speed
Then we’ll take a look at heat-set inserts. So as I mentioned in the beginning cured SLA resin doesn't melt because it’s a thermoset and when you still try to melt a threaded insert into a resin print there won’t happen anything for quite a while and then it will spontaneously disintegrate and crumble away. The two ways I tried to fix the inserts in my parts was by gluing them in there, with at first, well obviously resin. So after cleaning the parts, I brushed the same resin that I also used for printing onto the inserts and pushed them into the uncured parts before placing them with all the other samples into the curing station. The interesting question here will be if the UV light can pass through the parts, cure the resin and fix the inserts in place. Finally, the solution of solutions if duct tape won’t fix it, super glue! Here I used some thick CA glue from Starbond that should be able to bridge some of the gap between the insert and the wall. I generously soaked the outside of the brass part, put it into the fully cured sample print, and then used a bit of kicker to cure the glue quickly. If you by the way enjoy these detailed investigations, make sure to be subscribed for more like this in the future and also check out our video library!

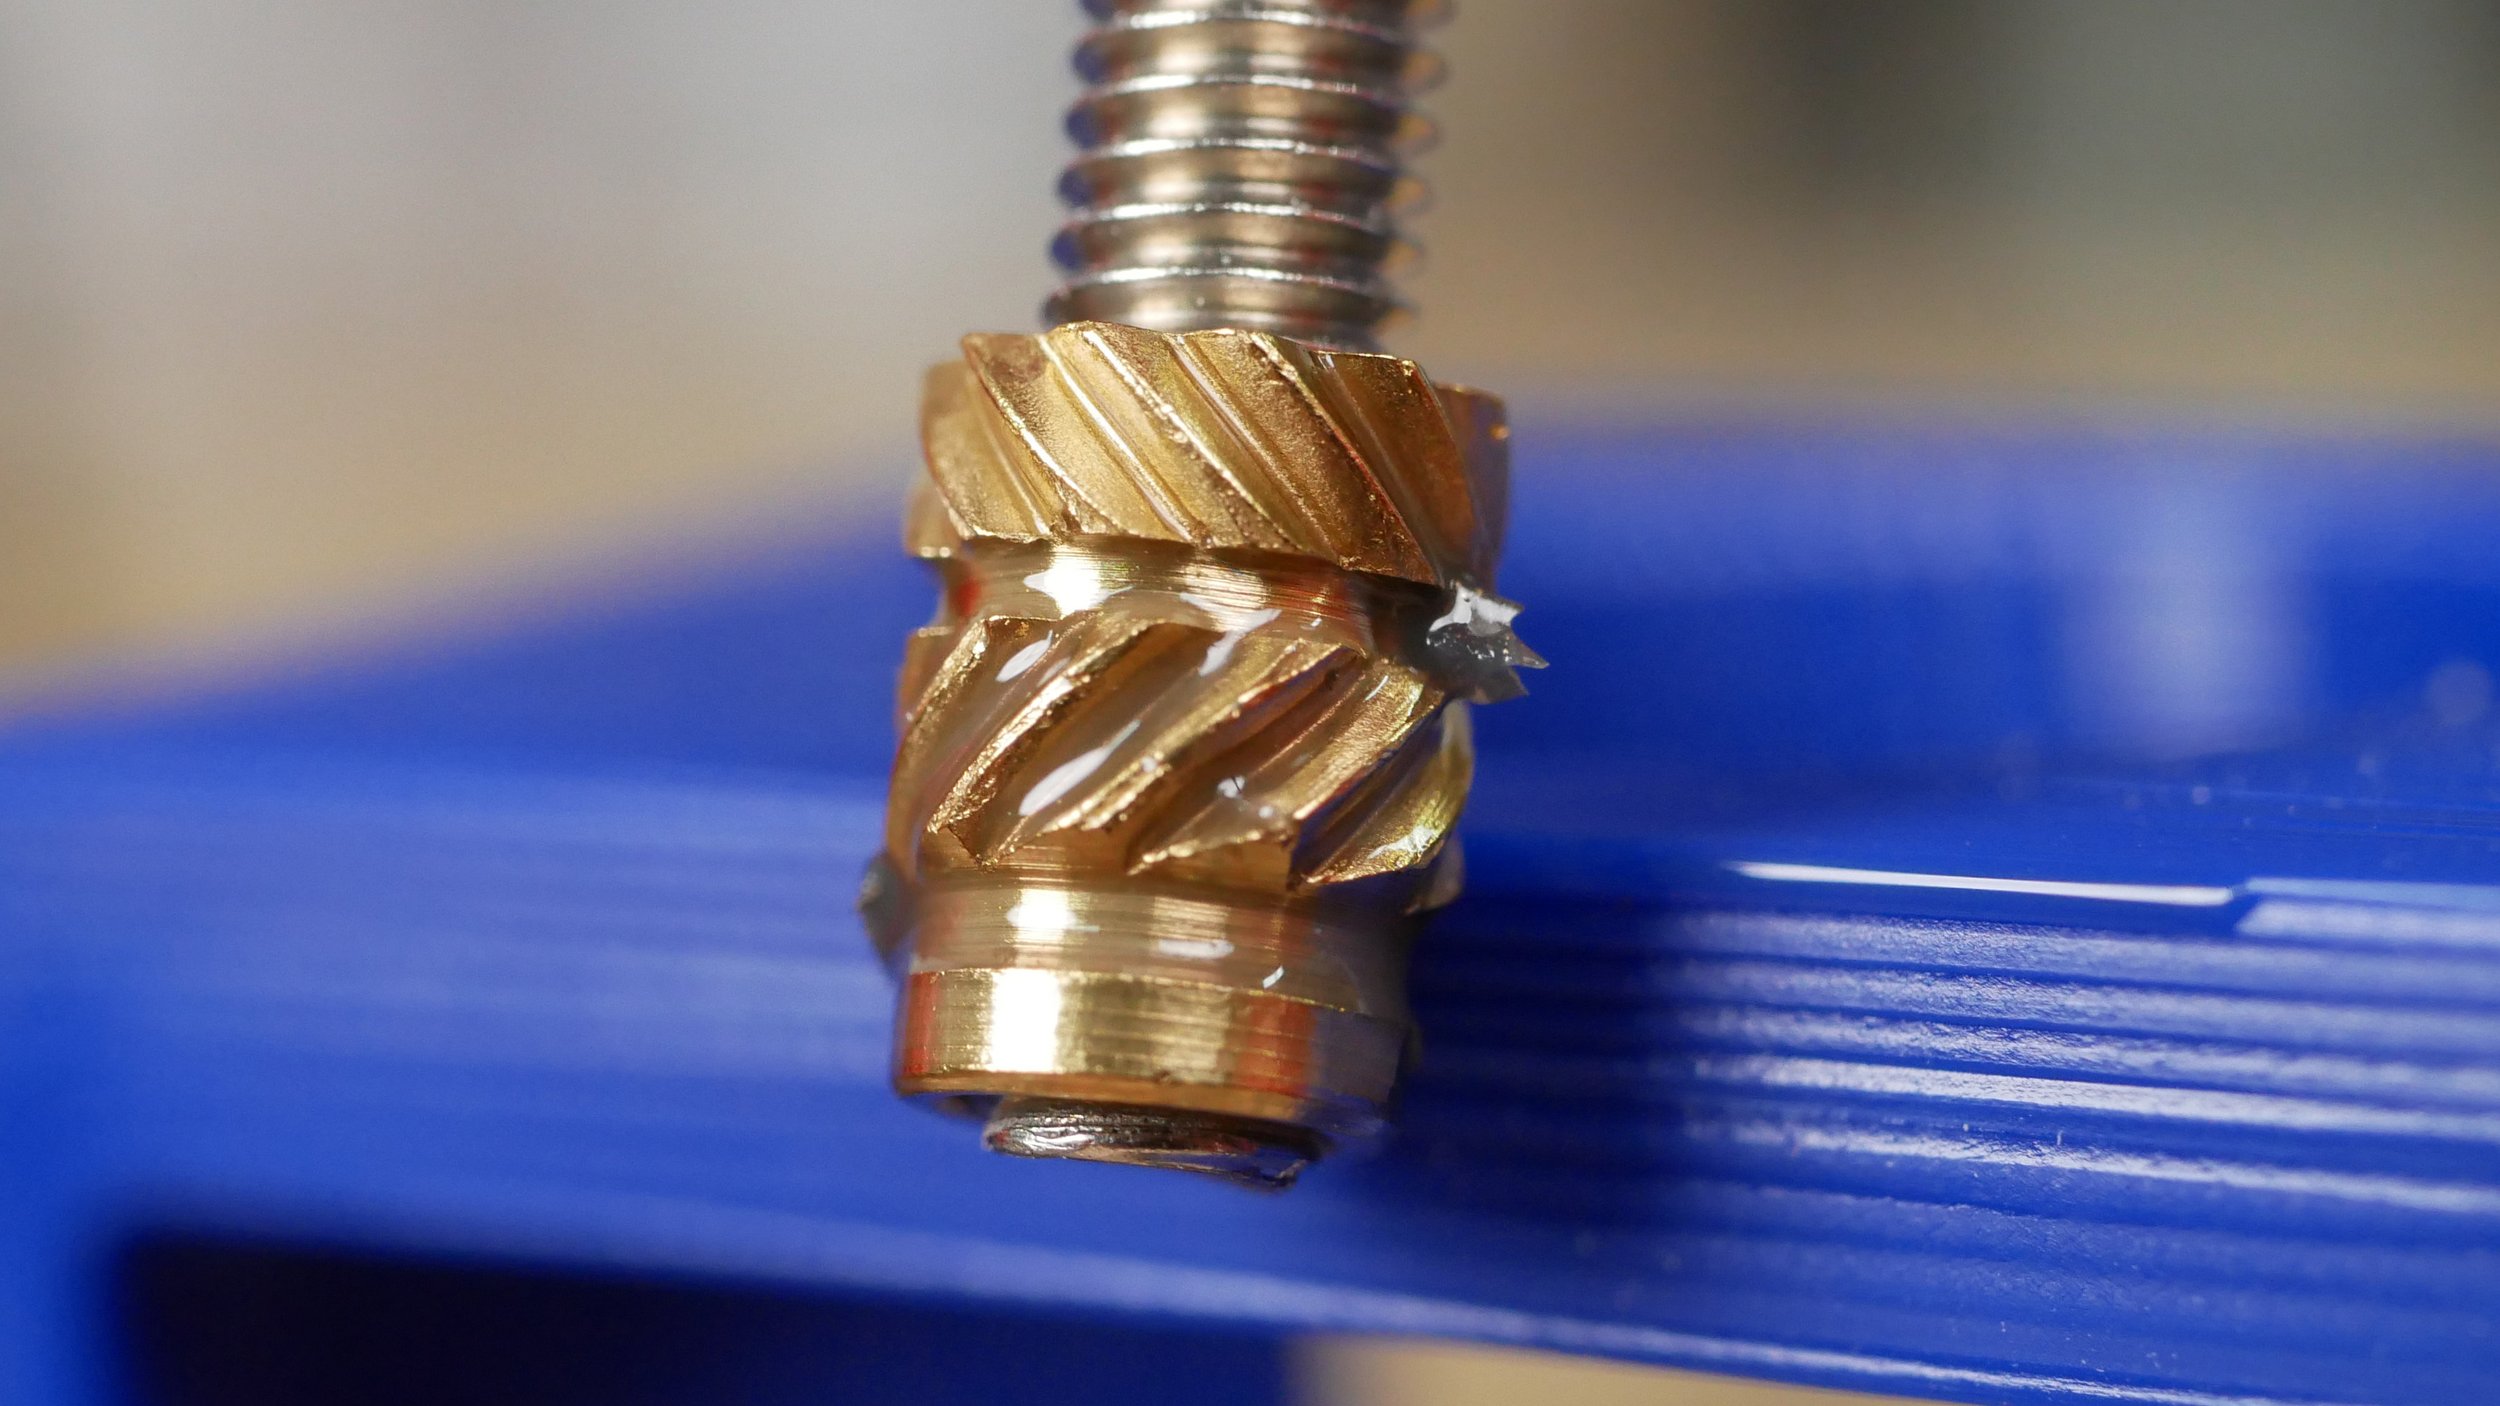
Brushing MSLA Resin on Insert
Before we test resin, let’s establish a reference with the inserts melted into a PLA print and a tapped PLA part. I mounted them one after the other in a special jig in my DIY Universal Test machine and then loaded them at a constant speed until something gave away. I tested 3 samples for each configuration. The heat set inserts in the PLA were super strong, and I was honestly not sure if my machine would be able to handle the load. At 205 kg on average, the inserts ripped very violently out of the plastic, yet left the part intact. The scatter on the results was very low and shows how well heat-set inserts work if you need consistent performance. The tapped PLA with an M3 thread was able to bear 163 kg on average until the threads in the plastic sheared and ripped out.
Threads usually fail in two different ways, with one additional special case. What we’ve seen on the PLA part was thread shear, where either the male or female threads simply get sheared off and often remain on the bolt like a coil. This usually happens when one thread is made from a significantly weaker material like plastic or aluminum. Then there is thread jumping. Since the threads are at an angle, you’ll get a radial force component that will stretch the hole, and at some point, the threads will simply jump one thread over without a ton of damage. This can happen if especially the material in which the female thread is located is soft or only has a very small wall thickness. Finally, the last special case is total destruction when the radial, axial and hoop forces are strong enough the completely destroy the part, which, spoiler, we’ll see quite a bit on the resin parts.

Sheared Off Threads
So let’s now take a look at the first set of resin parts printed from Prusa's Anthracite Tough resin. The parts in which I directly screwed in the bolts failed quite boring at 44 kg on average with the threads jumping. On the other hand, the samples with the threads that I tapped into the parts failed with a boom but were only able to bear a bit more and landed at 55 kg. I wouldn’t have expected this kind of failure using a resin that’s labeled tough, yet I have to be honest I simply don’t have a ton of experience with resin parts at the moment. Interestingly enough, the parts where I modeled the threads in CAD and then printed them were almost able to hold twice the load and exploded at 106 kg of load. My guess is that Prusa’s Tough Resin is sensitive to notches, which were left when cutting the threads with a tap and they, therefore, failed earlier.

Sample In Test Rig
But let’s now get to the heat set inserts which I glued intwo the part and start with resin bonding. The first set of samples failed at only 6 kilos of load. Taking a closer look at the inserts showed that the resin didn’t cure because probably due to its black color, no UV was able to pass through it. It’s going to be really interesting to see if that’s any different on the transparent samples. The other thing that I noticed was that due to the low viscosity of the resin it wasn’t really good at filling the empty voids around the insert and due to the stepped shape of our inserts it was basically only glued right at the edge of the sample.
Insert with un-cured resin
Compared to resin, the CA glue was a bit thicker and able to bridge some of the gaps. These samples were able to bear 52 kilos on average until failure and when the ripped out also exploded the part. The superglued inserts were not the strongest of the samples, yet reached the same strength of directly screwing into the parts while having the advantage that they are way more durable if you screw into them over and over.

Exploding Resin Sample
Let’s now also take a look at samples that have been printed just from some regular Elegoo translucent resin. The parts into which I directly screwed an M3 bolt failed violently at 98 kg on average. If I pre-tapped the hole, the samples were a bit stronger but they also exploded at 104 kg of tension force. Again, the threads that I directly printed into the parts performed the best and were able to hold 121 kg of load until total destruction. Next, I tested the transparent parts with the threaded inserts glued into. I started with the resin-glued samples which were stronger than what we’ve seen with the grey resin yet I still had one sample where some uncured resin was still left on the knurlings. So we do get deeper UV penetration with transparent parts, but the results don’t seem to be super reliable. The samples with the CA glued inserts were a bit stronger and able to withstand 56 kg until failure and also showed a lower scatter of the results.

Test results
I was a bit disappointed that the inserts underperformed a little, so I made a last effort to improve the results. In this one I adjusted the shape of the hole, so that it follows the shape of the inserts. This results in less gap that the glue needs to bridge and as a convenient side effect, makes installation way easier because the inserts don’t fall into the holes anymore but have a physical end stop.

Optimized Geometry
I sized the holes in a way, that you can push them in with only minimum force, this reduces the gap, yet also prevents you from damaging your part already during this process. I printed more samples and glued the inserts into place with the thick CA glue but also used 2-part epoxy on one test set. The strength of the inserts glued with CA in Pruas Tough resin only marginally improved to 56 kg on average. The epoxy-glued inserts were a tiny bit stronger and ripped out at 59 kg, yet we can clearly see that the epoxy didn’t perfectly bond to the resin print. Maybe some undercuts in the hole might have improved the results even a little more. The results using the transparent resin were different, and the strength of the CA glued inserts improved significantly to 82 kg and even to over 100 kg using the 2-part epoxy, matching the values of directly screwing in the part with the added benefit of reliability! Even though the epoxy showed slightly better performance, simple thick CA glue is way easier to use, so if you don’t need maximum performance I’d still recommend using superglue! The adjusted hole geometry seemed to have notably improved the usability and strength of heat-set inserts in resin prints and if you’re using our inserts, which you can find over on cnckitchen.store, you can use the hole dimensions I posted over on my website!

Complete set of results
So in the end, we have seen that heat-set inserts can not only be used in your FDM prints but if you use the proper glue and geometry will also work in your resin prints. The strength wasn’t as impressive as in a PLA part, yet you’ll probably barely need this amount of load-bearing capability. The main purpose of threaded inserts is to give you or your customer a more reliable, repeatable, and durable way to assemble and disassemble your parts and this is, as also the “Proper Extruder” shows, even possible in resin parts if you use the right method. But what are your thoughts on this? Have you ever used heat-set inserts and will you be using them in your future resin projects? Leave a comment on YouTube.