Calibration Cubes are BAD! This is how you calibrate your 3D Printer
After I recently finished building my new RatRig V-Core 3, I thought it would be a great test for the machine to print the electronics housing for my new precision oven for temperature tests. Unfortunately, after the first print, I noticed that the holes I had properly measured didn’t fit the electronics, and the lid didn’t fit the base. At that moment, I realized I forgot a crucial step of setting up a new, especially self-built machine and that was doing the size calibration.
Many, and in my opinion, way too many, use one of these calibration cubes for that step. Over the years, there have been dozens of different variants of calibration cubes popping up and most of them have one distinct feature. They are cubes, usually marked with letters for the axes, and are 20 or 30 mm wide. You’re supposed to measure them in order to figure out if your machine prints dimensionally accurately or not. And this is exactly the problem. If you ever used a calibration cube to tune your steps/mm, there is a big chance that you made its accuracy worse instead of better. Hate me for this take, dislike, unsubscribe or leave a shitty comment. I don’t care! I’m convinced THIS is one of the worst things in 3D printing that you can do! There are some legitimate uses for calibration cubes, yet not size calibration and I’ll touch on that later.
Different Calibration Cubes
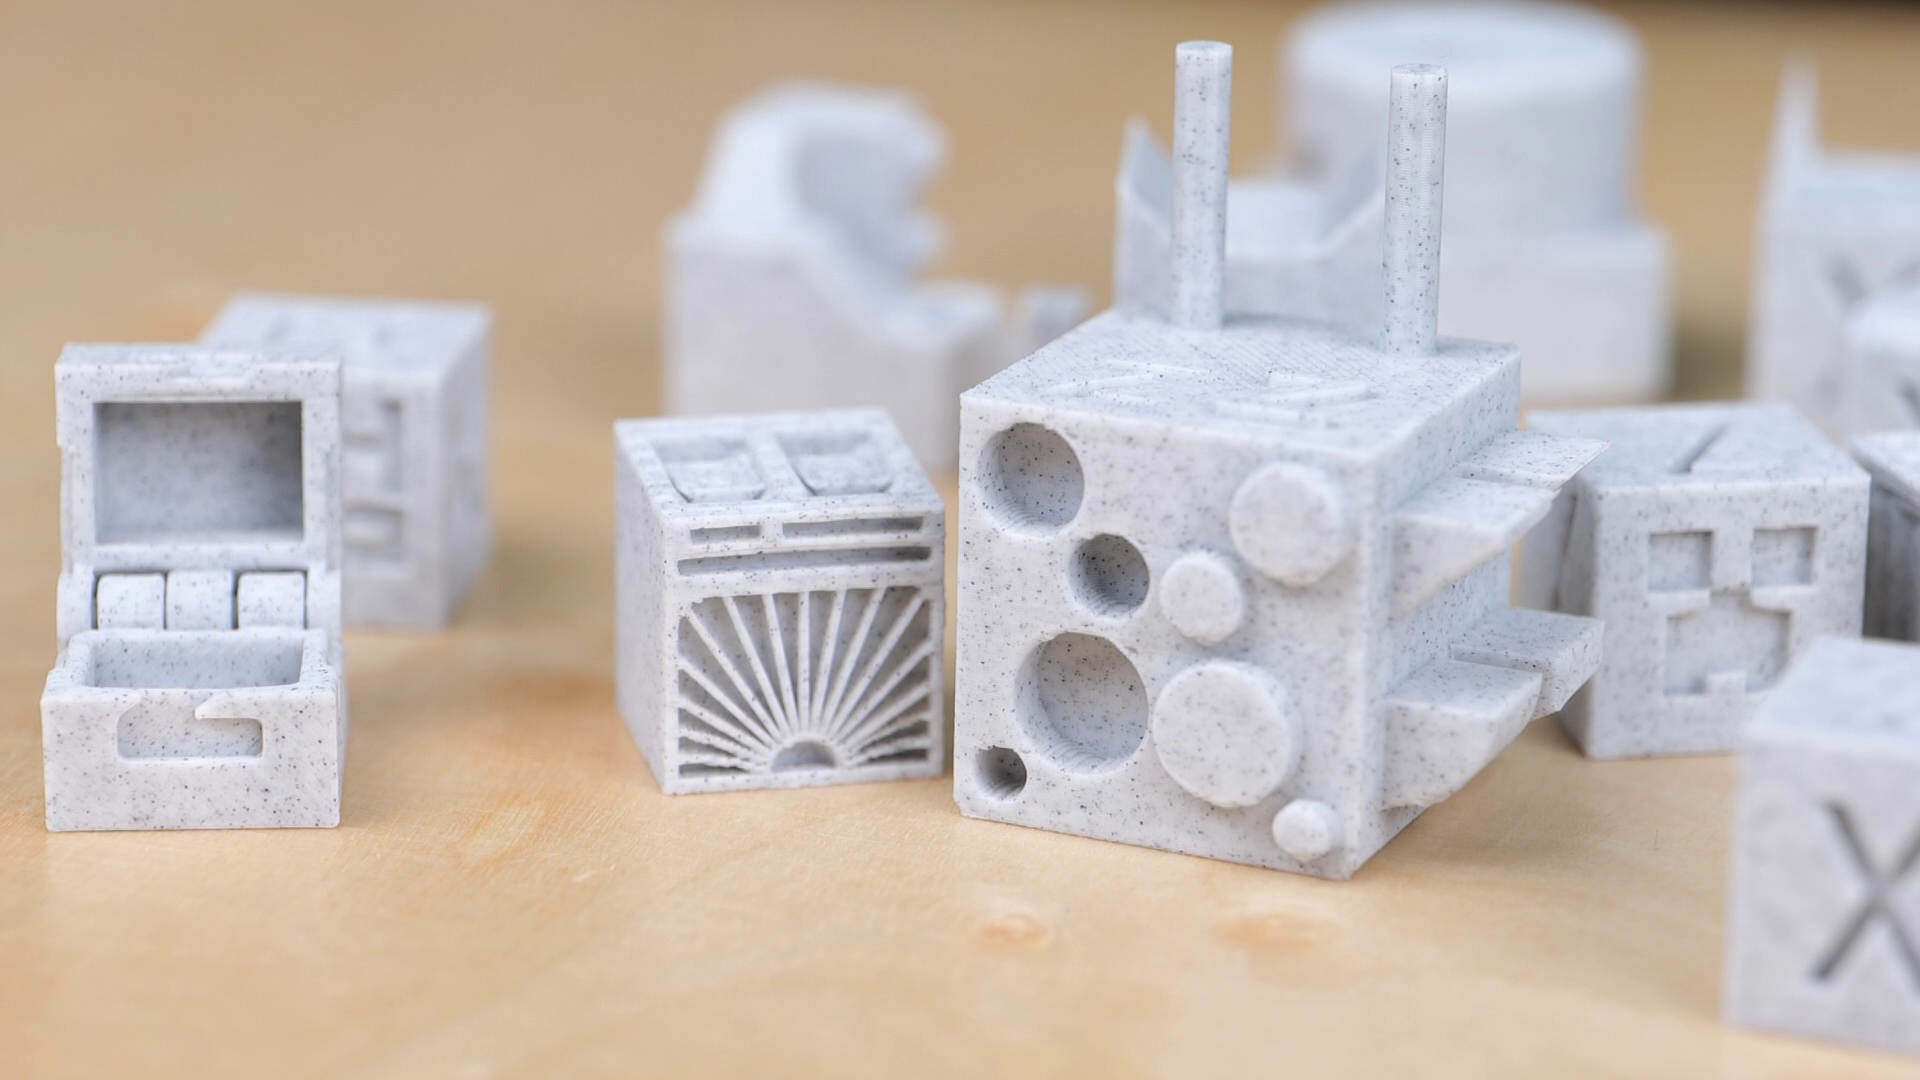
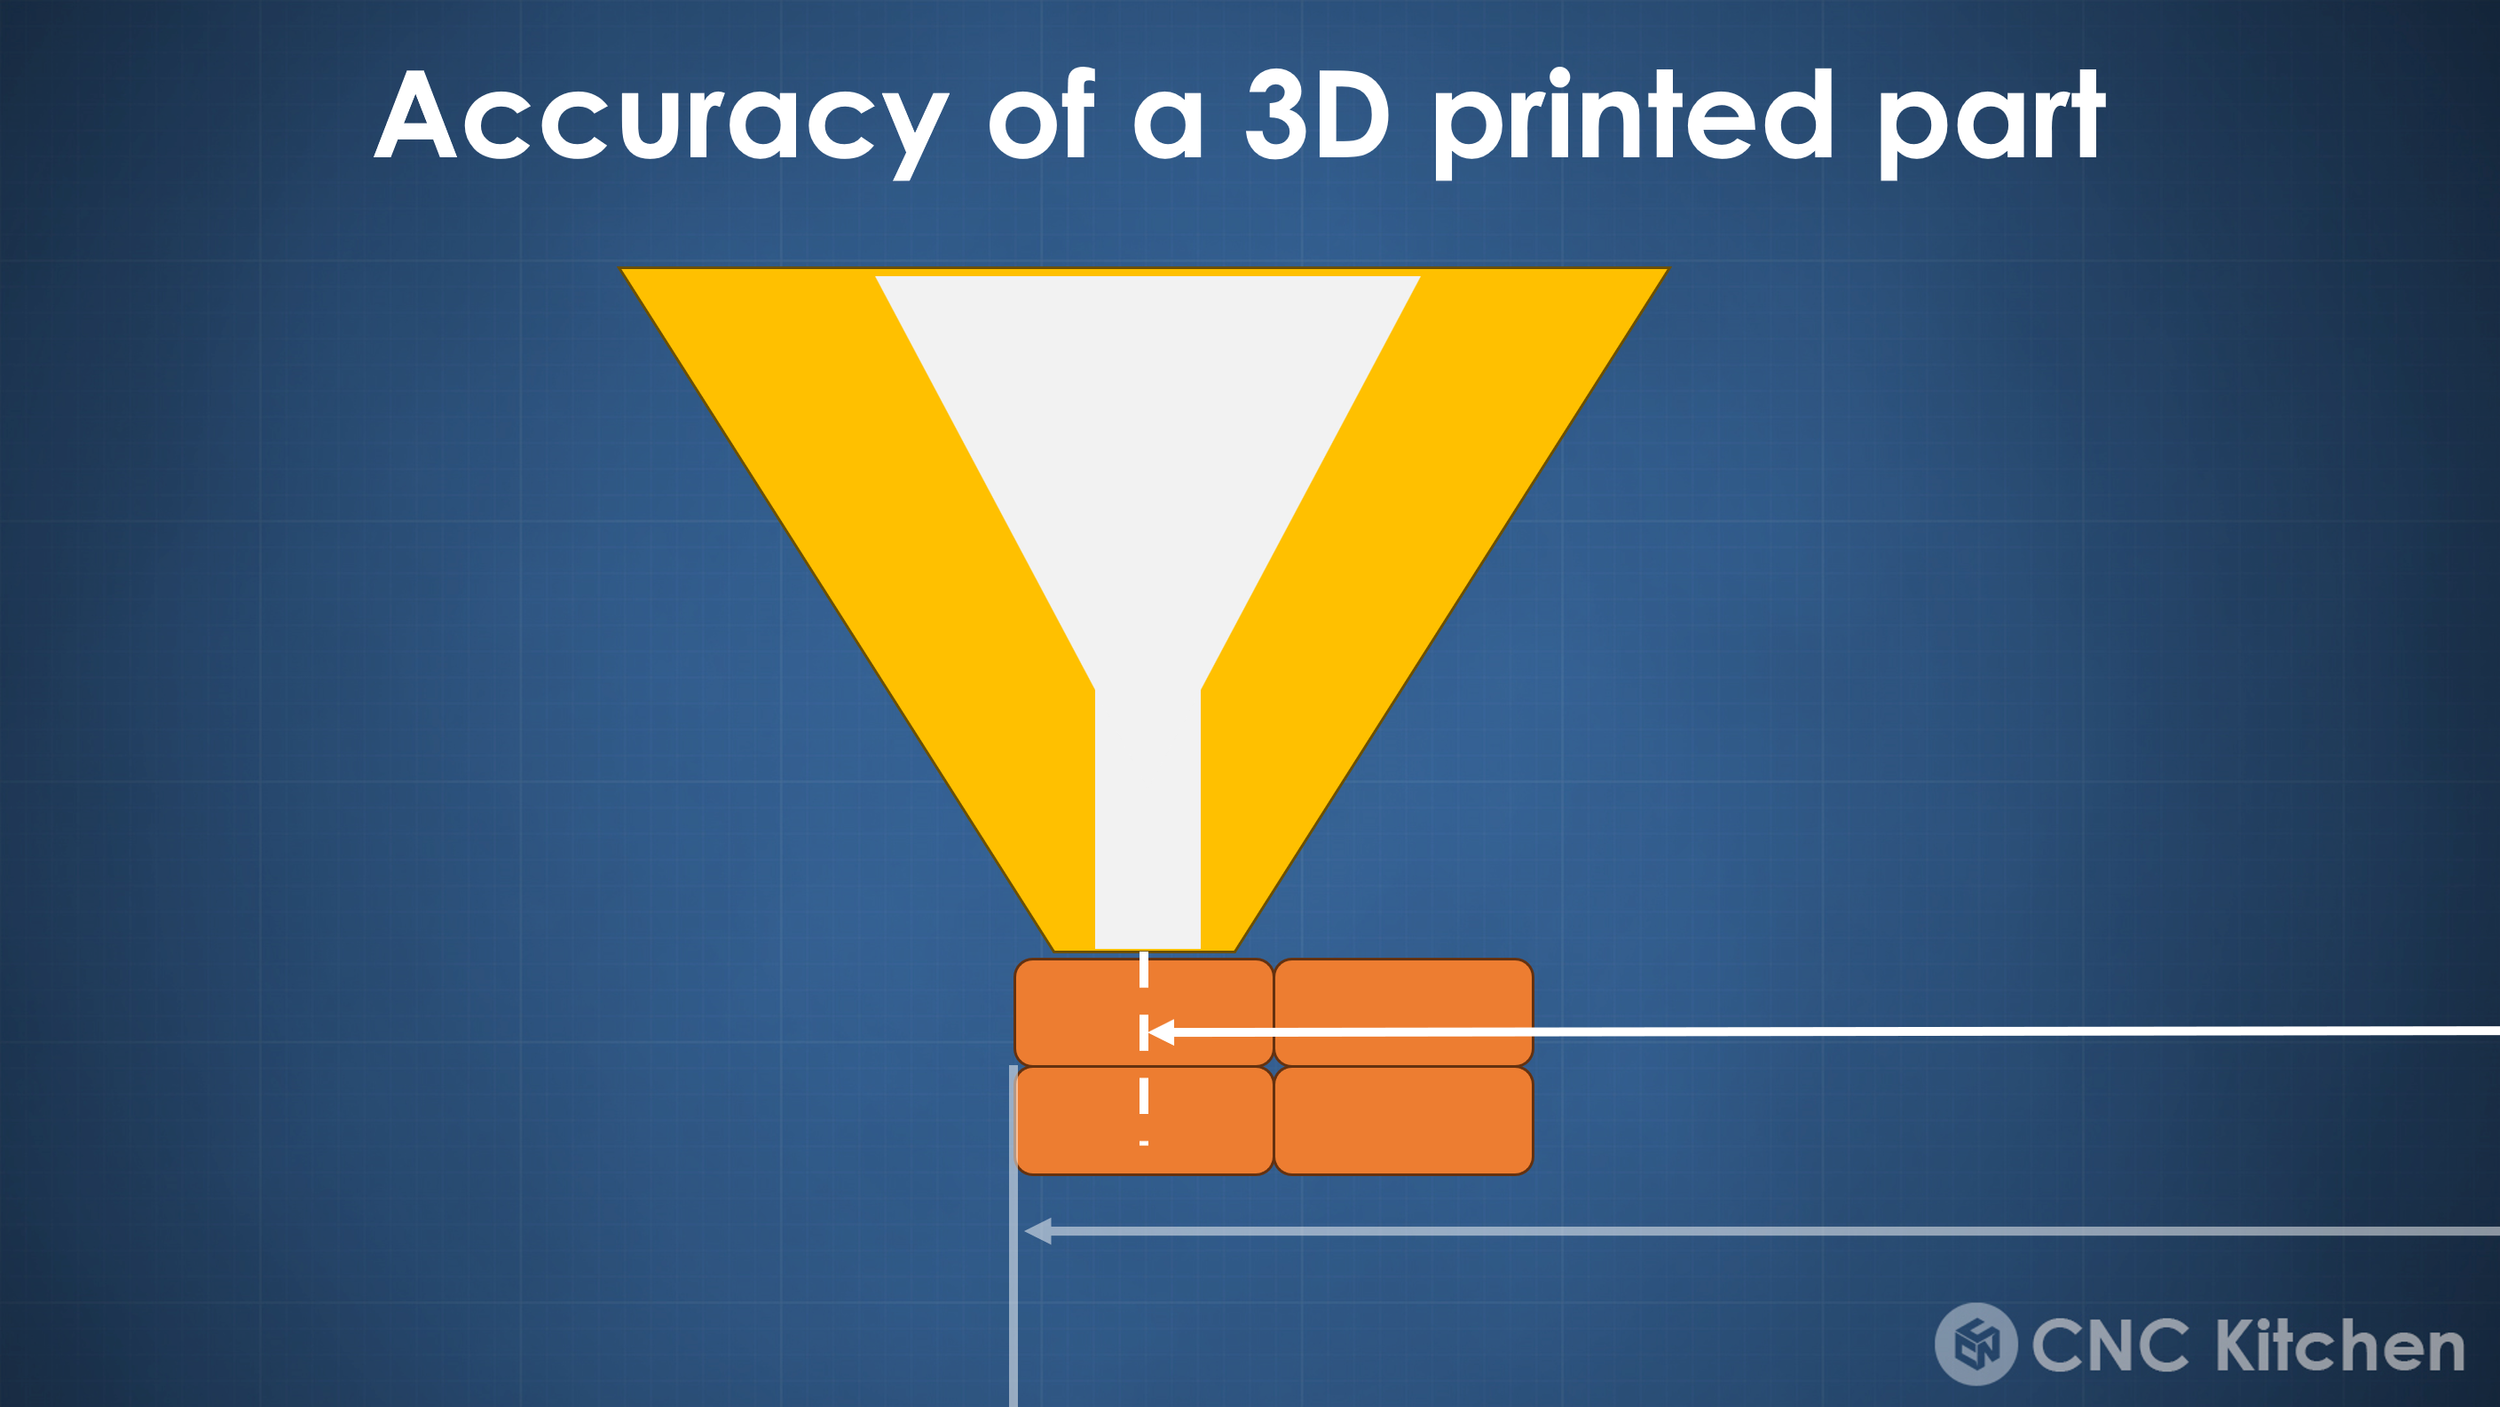
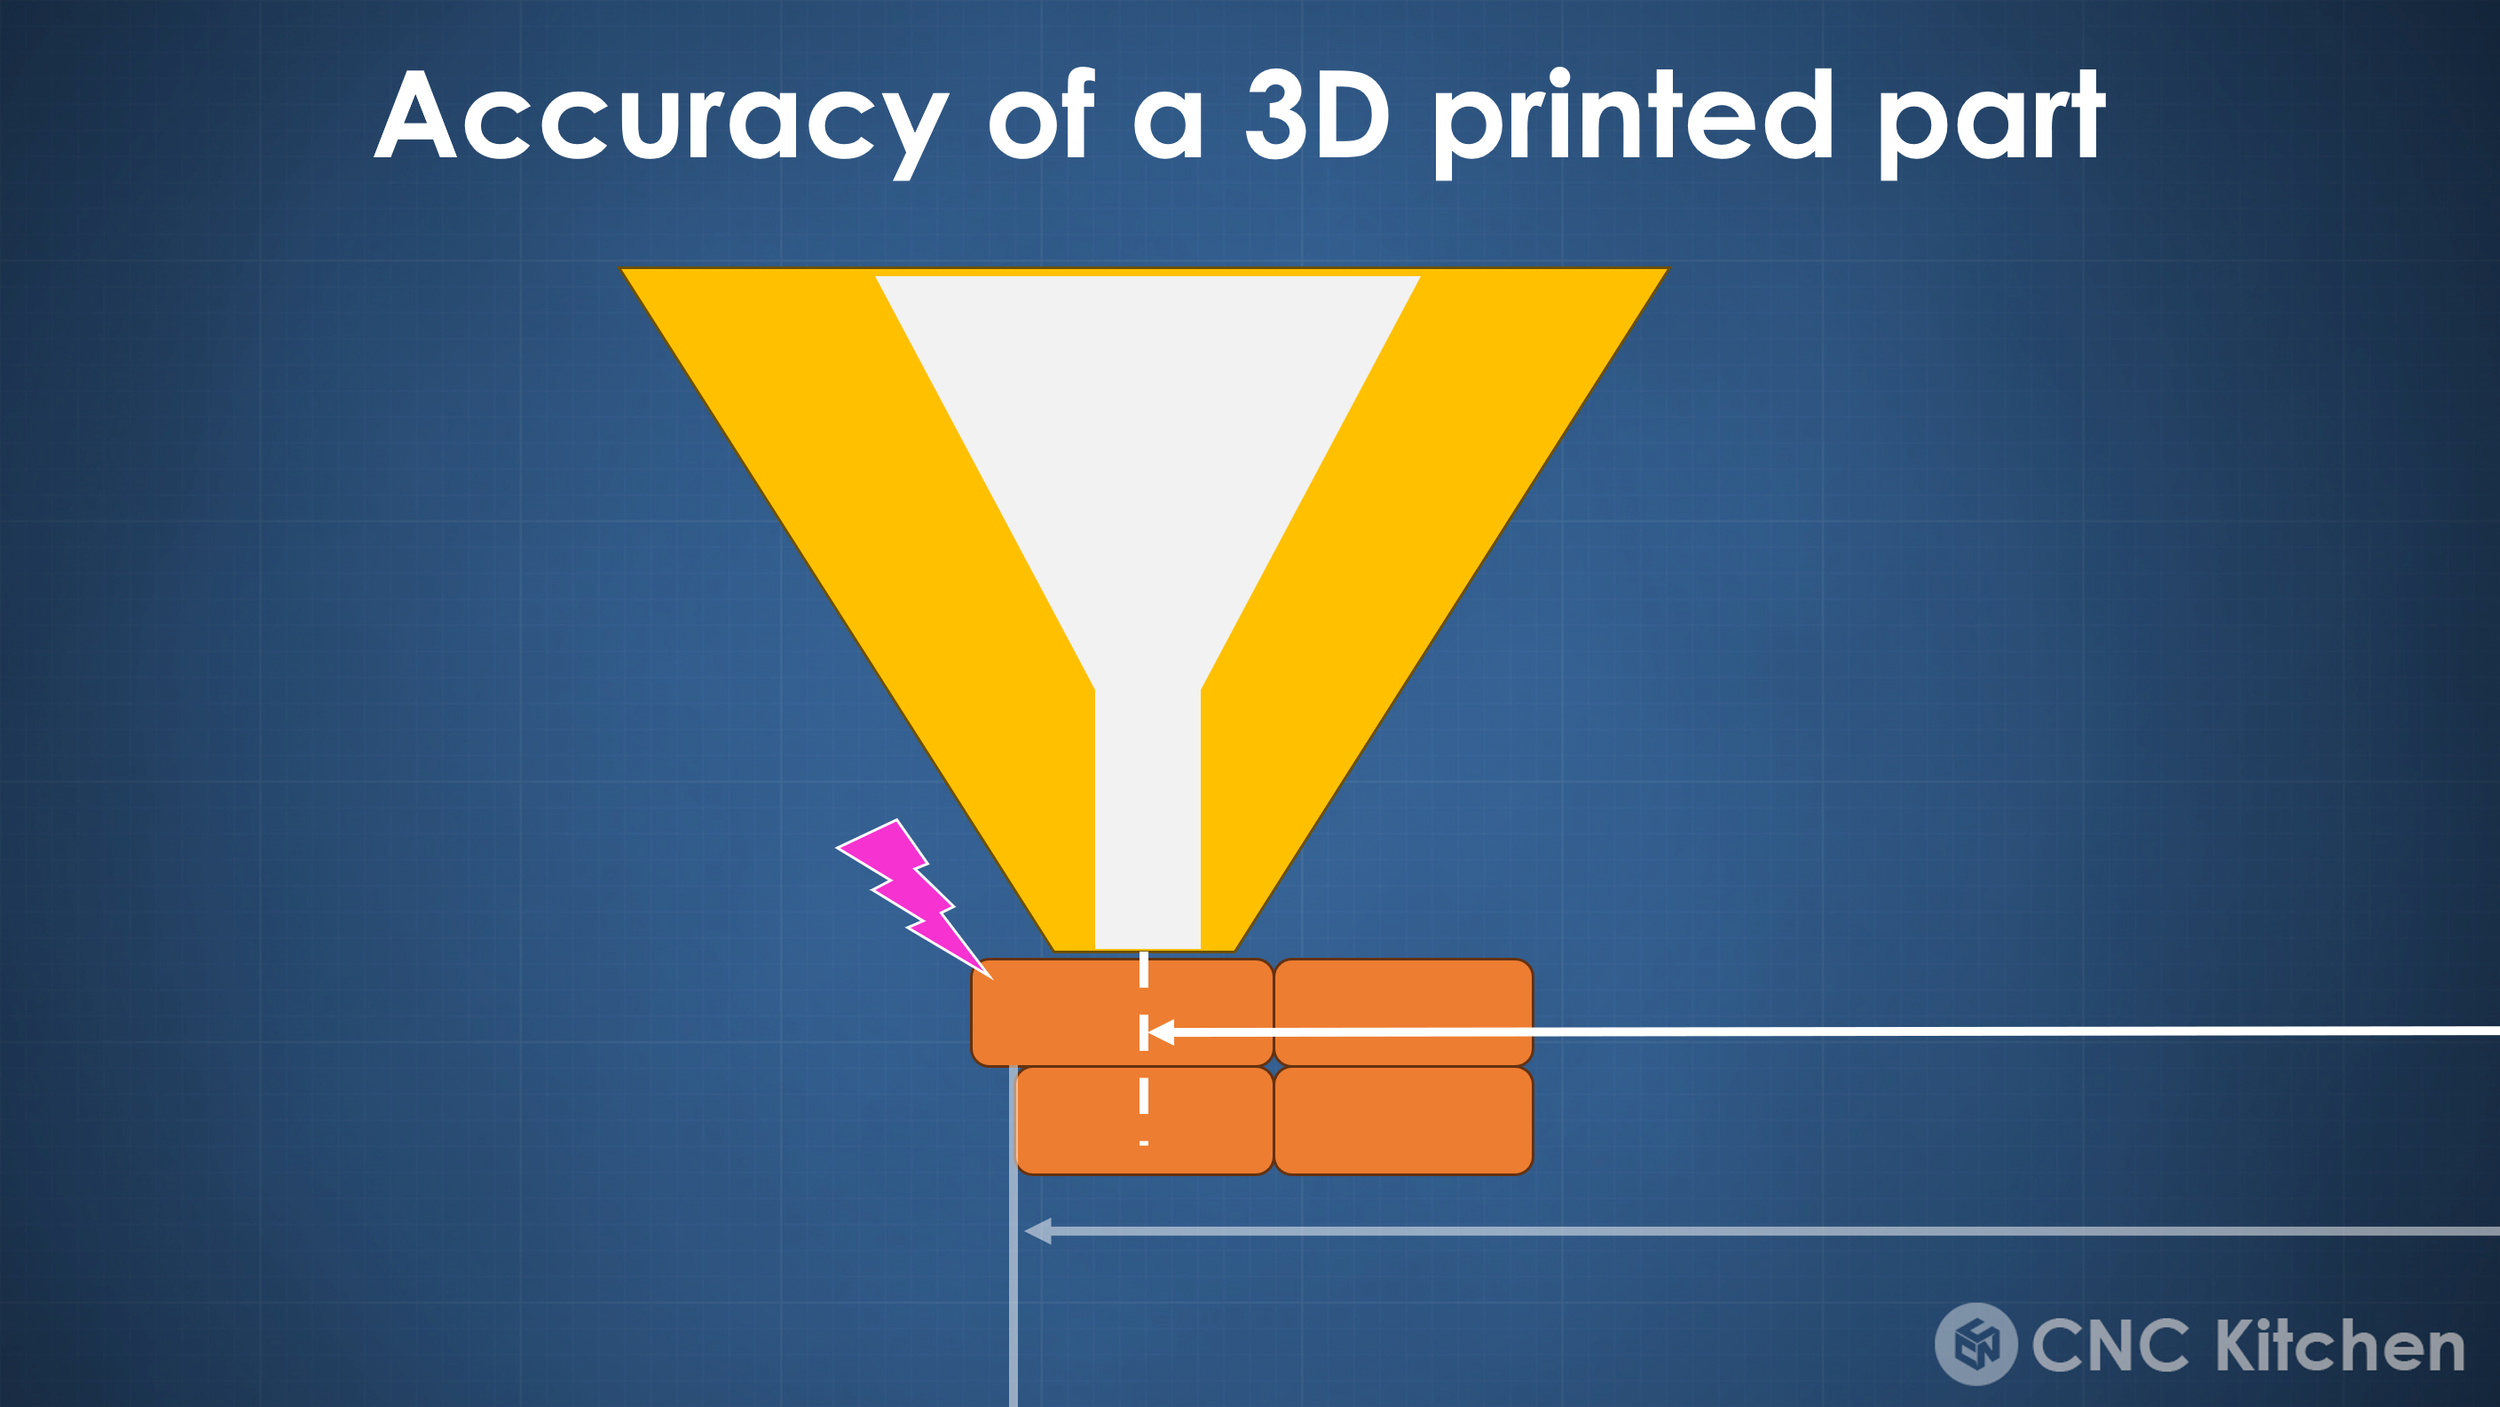
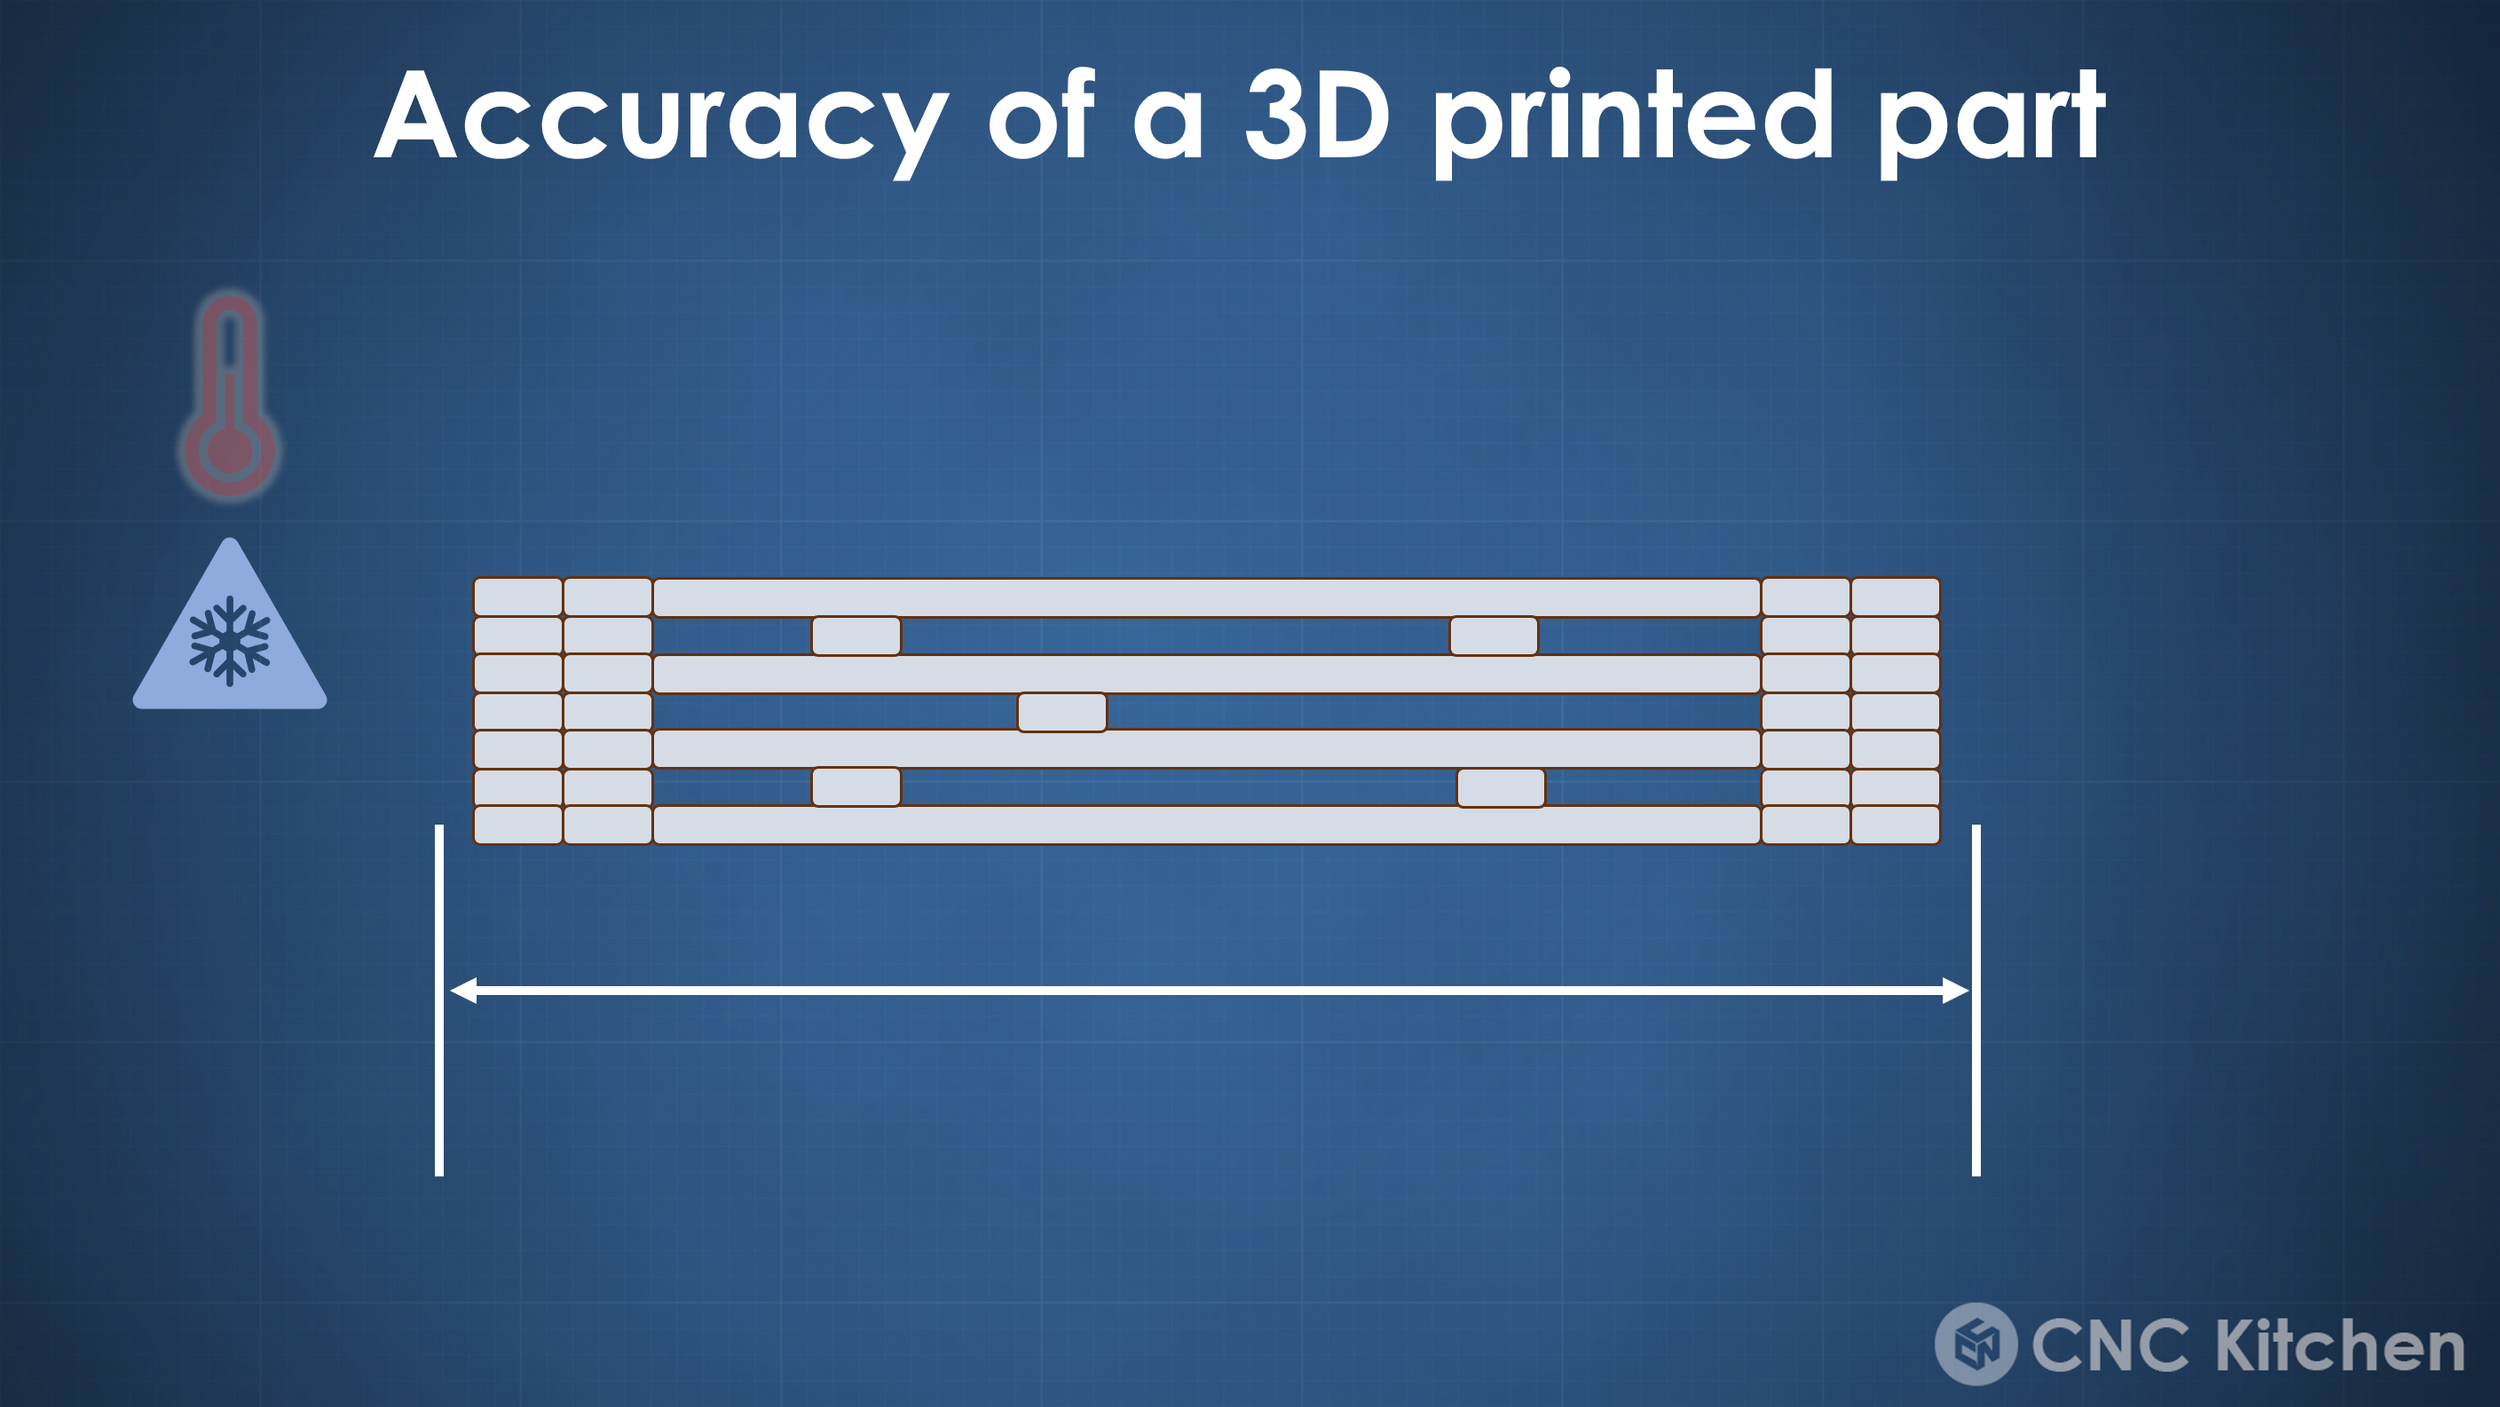
The accuracy of a 3D print is affected by a ton of different factors. The most obvious is how accurately the printhead can move to a certain position, and this is what people often think they need to tune. What many don’t realize is that the dimensions of a part are only partly impacted by the accuracy of the print move and also a result of how wide an extrusion gets squished and how much the part shrinks due to thermal contraction!

In order to understand why I think people make a mistake when using calibration cubes, let me quickly explain the process. So the common calibration cube has a nominal edge length of 20 mm. When people print it, they take calipers and measure how wide it is in reality and then adjust the steps/mm, so basically how much the stepper motors need to rotate for a mm of movement of the printhead. Once they adjusted this value in their firmware, they print the cube again and are happy if it really measures the exact dimensions. Yet what many don’t realize is that calibration cubes have some major flaws, which makes measuring their outer dimensions useless and even wrong for scaling.

Let’s start with the most obvious, and this is that regardless of which orientation you’re measuring the calibration cube, your measurement is flawed by either the elephant foot the cube might have or overextended corners. The next problem is that if you’re just measuring outer dimensions, these are highly affected by the amount of over-or under extrusion that you’re having. And finally comes the measuring error. Measuring something always comes with a tolerance, which can be a result of imprecise measuring equipment or even just the amount of pressure that you’re applying on the tool or your part. A measuring error of 0.1 mm on a 20 mm block is a .5% error. The same measuring error on a 100 mm part is only .1%. So the smaller the dimension that you’re measuring, the higher the impact if you measure something wrong. The 20 mm calibration cube is rather on the small side, and a 0.1 mm measuring error is completely normal on cheap calipers or if you measure incorrectly.

Dimensions of a typical Calibration Cube
The last big letdown of calibration cubes is that even if you were able to use them to get your x and y dimensions right, they don’t tell you anything about an often overlooked flaw of 3D printers, and this is skew. If you have a skewed printer, this means that the x and y axis are not particular to each other. This can be a result of tolerances, bad assembly or even just unequal belt tension. This is mostly irrelevant and even unnoticeable if you mainly print esthetic parts, but as soon as you print a box with a lid, you will notice that the top and bottom don’t fit nicely onto each other if your axes are skewed.
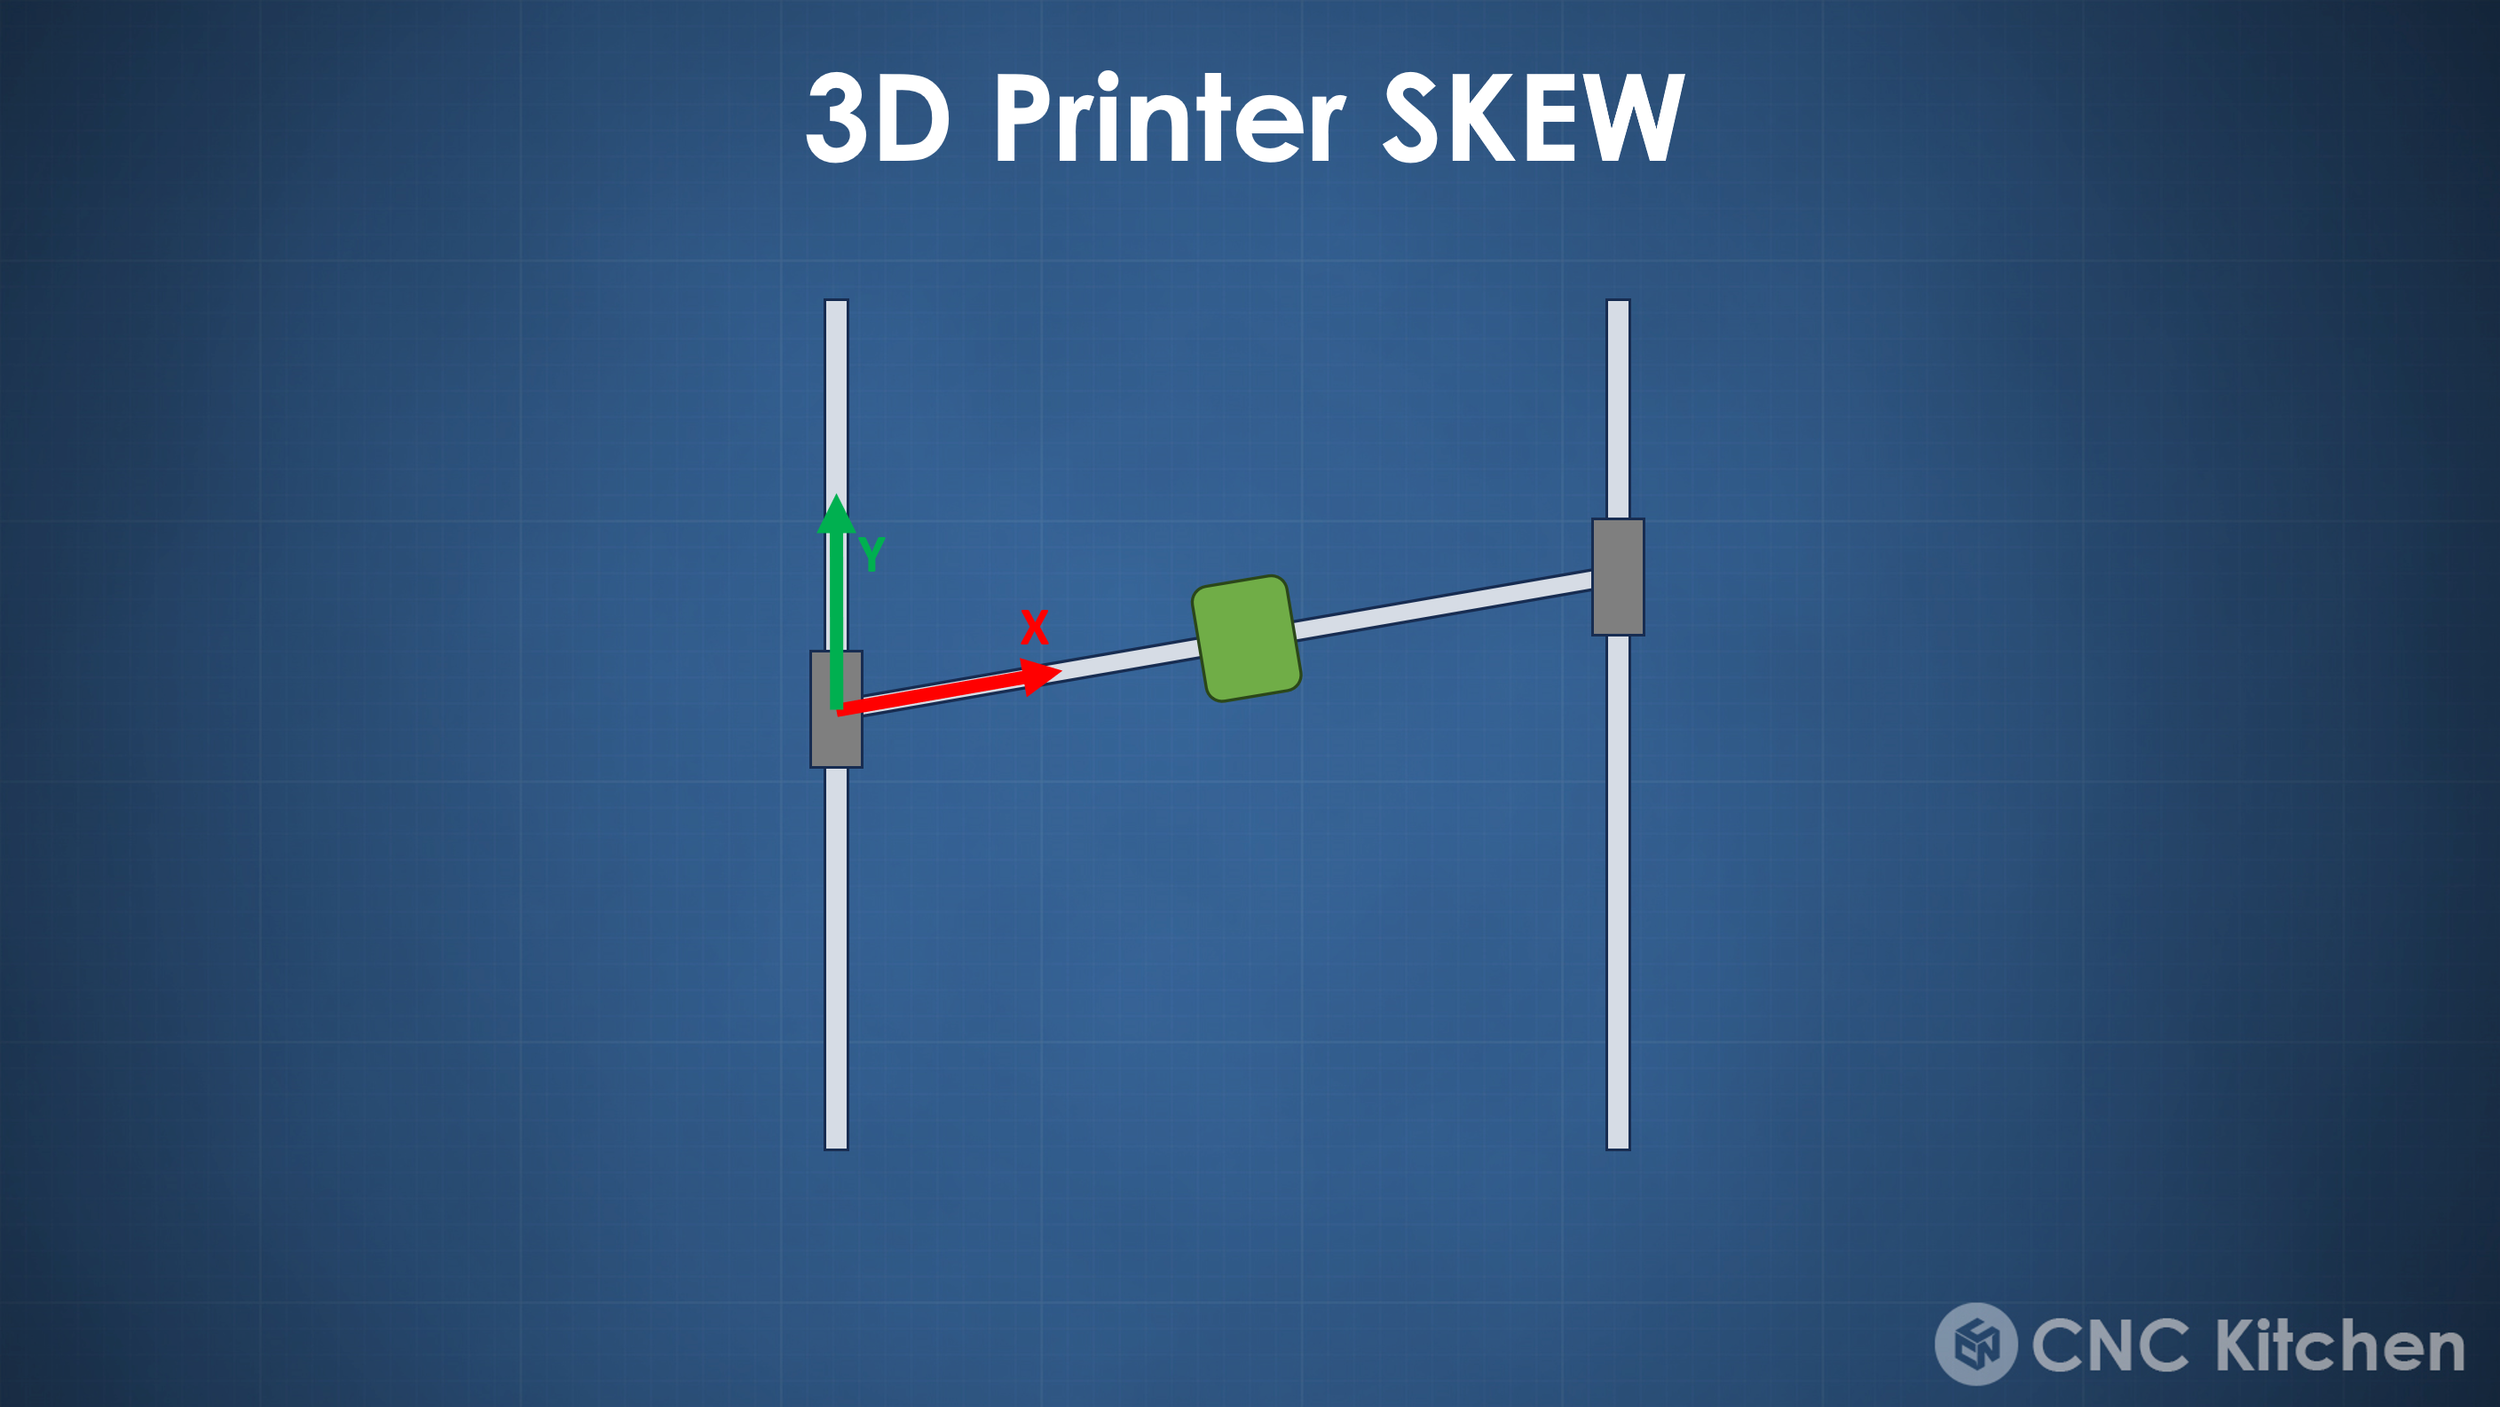
Measuring skewness is pretty simple by measuring the diagonals of a square. If they are not the same, your printer is skewed. I mean I’m probably not the first one telling you that many printers have a way to compensate for that, but did you ever check your machine or even compensate it? I was curious myself and tested all the printers I have in my studio and we’ll take a look at the results later.

Measuring the diagonal of a box
So how can we get around the letdowns of calibration cubes and even do our skew correction at the same time? You can find several different solutions for that on the typical model repositories, yet the one that I’ve been using for a while is the so-called CaliFlower from YouTube colleague Adam of Vector3D. Yes, this is a paid download, but what you’re getting is not only the STL for printing but also this super convenient spreadsheet that gathers your measurements and then does all the calculations for you and even creates the inputs to compensate for the deviations in your firmware or slicer.

Adam’s CALIFLOWER
So let's use my new RatRig V-Core 3 as an example, which I just built but didn’t check for proper dimensions and skew yet. Before I printed the CaliFlower, I made sure I properly tuned my filament profile. So I figured out the optimal extrusion temperature, adjusted the flow percentage, tuned retractions, and figured out the optimal pressure advance value. With everything set up, I then printed the Calibration Flower, which takes around an hour to finish.

Printed CaliFLower on the RatRig V-Core 3
Adam, who designed the CaliFlower put a ton of thought into the design so that the measurements you’re taking are as precise and repeatable as possible. Obviously, the part is bigger, with nominal dimensions of 100 and 50 mm, so measuring errors are less severe. Then the locations where you’re measuring are on flat faces, so no text or over-extrusion on corners will impact your measurements. There are chamfers at the top and the bottom to avoid an elephant foot or the impact of overly squished upper layers. And finally, every dimension is measured as an outer and an inner measurement. By taking the average of these two measurements, you get rid of any effect from over or under-extrusion. For example - over-extrusion would make the outer dimensions bigger and the inner dimensions smaller, but the average, so basically, the middle will stay the same.
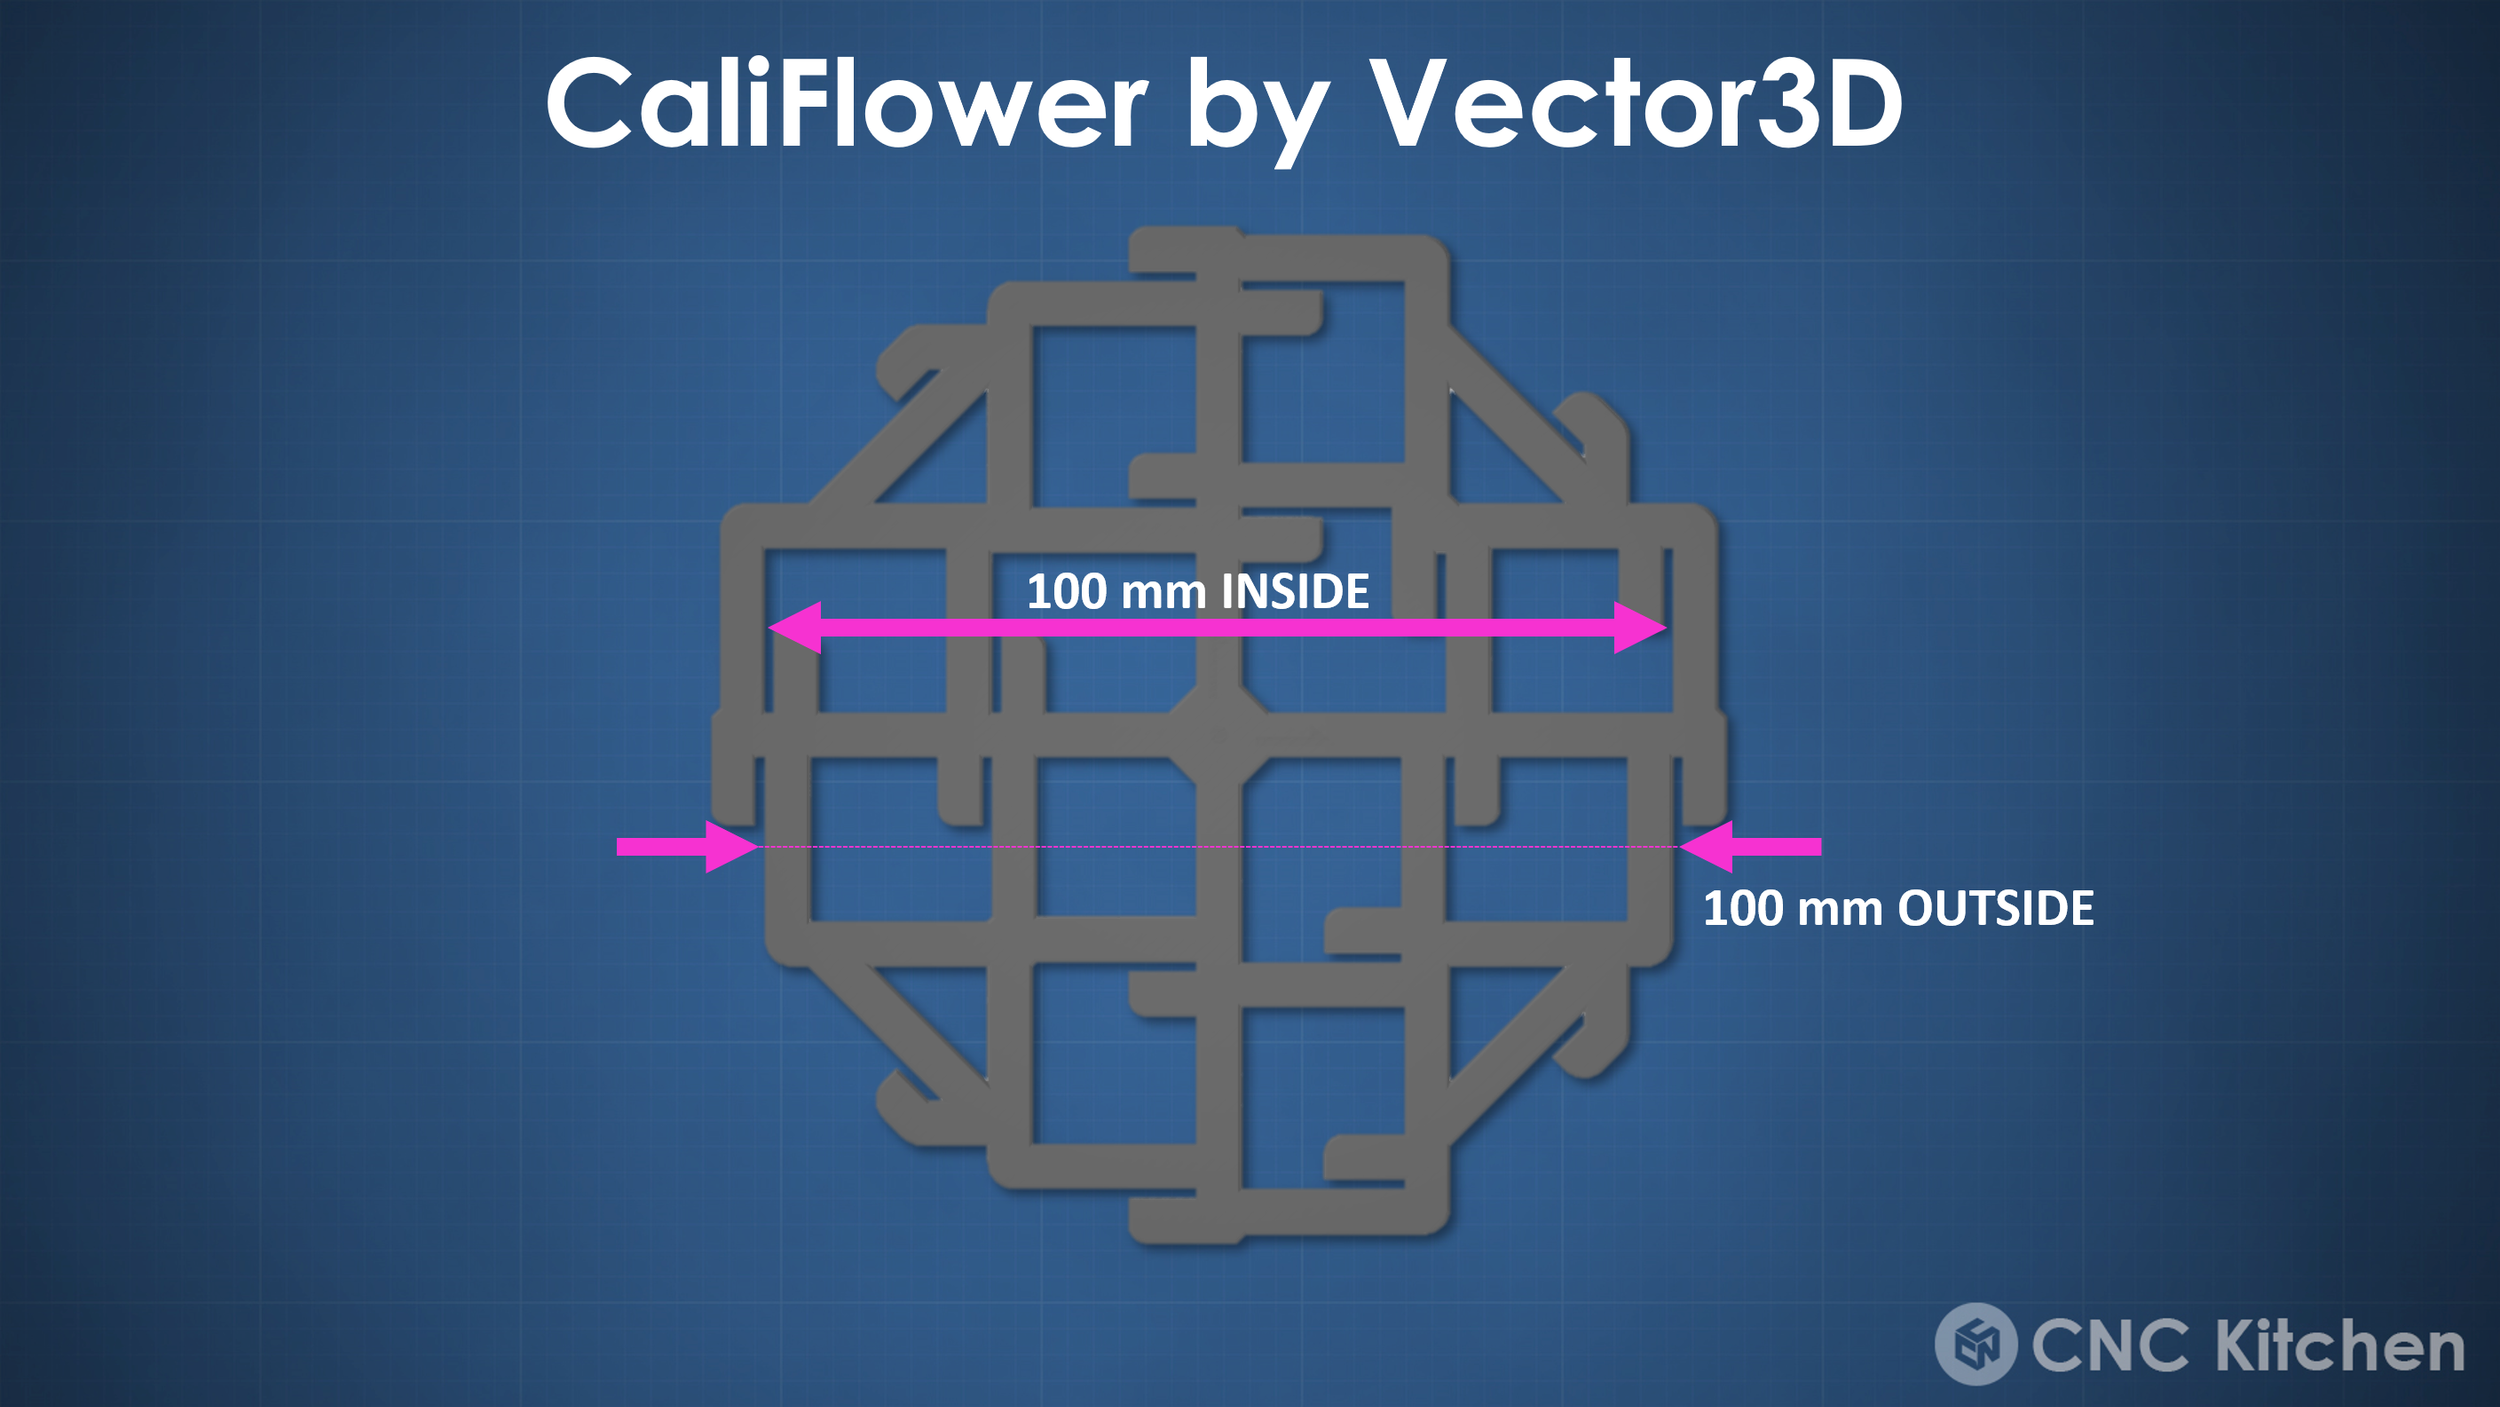
CaliFlower
Make sure to use proper calipers. I love my Mitutoyos (affiliate) with the thumb wheel that helps to apply consistent pressure during the measurements. Link in the description by the way. Make sure that the calipers are always parallel to the part, and maybe even wiggle a little to find the sweet spot.

Mitutoyo AOS 500-196-30 (affiliate)
There are ten reference dimensions on the part, and in order to reduce the effect of measuring error, you should measure each dimension three times. This takes maybe 5 minutes which leaves you with the calculation of your x and y error as well as skew of your axes. If you have used Adams CaliFlower before, you might notice that mine looks a bit different. This is because I initially had the idea to make something myself because I wasn’t satisfied with the way the old CaliFlower had to be measured. Yet instead of re-inventing the wheel and ripping off a YouTube colleague, I rather decided to chat with Adam, so that he could improve his design. Adam had a pretty rough last year with a cancer diagnosis, so every purchase helps him to get back on track! Whereas on the old one, it was a hit-or-miss placing the caliper correctly, there are now stops on the new design that will make sure that you always measure at the right location. The new design is now available in his shop and if you already bought the old design, you can download the new one with the same link you initially got.

Measuring the CaliFlower
So my measurements told me that my x and y dimensions are around 0.3% to 0.4% off and the skew of my axes is 0.4° which is quite significant which also explains why my top ond bottom housing didn’t properly fit. My RatRig runs Klipper, where compensating the skew is really simple by just adding a line to the configuration file, sending two commands via the console, and adding a command to the start and the end g-code. If you run RepRap firmware or can compile your own Marlin, there are also the commands generated in the spreadsheet. If you can’t change your firmware like on a BambuLab machine, or even the new Prusas if you don’t want to void your warranty, it’s tougher, but there are skew compensation add-ons for Octoprint or G-Code post-processing scripts that you can use. If you want to fix this problem properly you might even want to try to square your machine manually!

Calibration Sheet Output
Next might come a little controversial topic. My measurements told me that my part was around 0.35% undersized and even the spreadsheet suggests the steps/mm adjustment. And here comes my controversial opinion. If you only print one material type, go ahead and change your steps/mm if your machine allows it. But for anyone else, who regularly works with different materials, I’d rather define a scaling factor for each of the materials that you use. To demonstrate what I mean, I printed the califlower on my RatRig in PLA, PETG, ABS and ASA and even though the skew was always relatively small in terms of measuring tolerance, because skew is a property of the printer and not the material, the part shrinkage was different. I had to compensate 0.35% for PLA, 0.4% for PETG and around 0.7% for ABS and ASA. This shows that not the machine is printing incorrectly but the materials are just shrinking and resulting in wrong dimensions. CURA and OrcaSlicer have a material shrinking factor for that, in most other slicers, you have to scale your parts manually if it’s something where you need to get your dimensions right.

Size Error with different materials
After adjusting your skew and compensating for shrinking, it’s a good idea to print another CaliFlower to check, how good your part dimensions now are. Due to tolerances and simply the complexity of the printer, material and environment system, you can’t expect to have perfect dimensions, but from my experience, running the calibration cycle once reduces your machine error by an order of magnitude which is usually good enough. I think, for most applications, a dimensional accuracy below 1/10 of a mm or 4 thou precise enough!

Calibration Iteration
But I was curious. I have a bunch of printers here in the studio and at home and wanted to find out, how good in terms of dimensions they all were. One of them is also really special in that regard. The good old Prusa Mk3 is the only printer besides the MK2 I’m aware of that does automatic skew calibration by measuring special points on the bed. But is this just a gimmick, or does this make this machine more dimensionally accurate? Let’s start with size. First things first. All parts came out undersized, which also indicates that the deviation in size is primarily thermal contraction. Yet there were still significant differences with some parts coming out of the machine almost spot on and others already .4% smaller. I first thought this might be due to the different brands and colors of PLA that I used and reprinted them all in the same, green VOXELPLA, yet a size difference still was there. I can only suspect that some might already compensate for shrinking in their steps/mm. The other interesting part to see was that the x and y error was not always the same, so a global material scaling factor might not perfectly work on all printers and in these cases, adjusting the steps/mm or unevenly scaling the stls in the slicer might be the better way. I can only assume that the reason for this is uneven belt tension, but maybe you have thoughts as well?

Size Error on different machines
Size can be easily compensated for, so the more interesting metric was the skew of my machines. Whereas I still had 0.4° of skew on my uncalibrated RatRig, I was able to completely get rid of it by using the CaliFlower. My A1 Mini, the P1S, Prusas Mk3, the A1, the Artillery Hornet, the Prusa XL, my old X1 and the QIDI X-Max 3 only had a very insignificant amount of skew. Starting with the MK4, the skew got worse, from 0.05° to almost 0.1° on my other X1 to over 0.3° on the Snapmaker J1S to finally a staggering 0.55° on my transparent Bambu Lab A1 Mini. If you used the whole printbed of the A1 Mini, this would be a 1.7 mm shift on a part. Yet I have to say that my transparent A1 Mini is a special pre-production unit that might not have seen the QC of the retail printers, especially looking at my other A1 Mini that was basically not skewed at all. But have you ever measured yours?
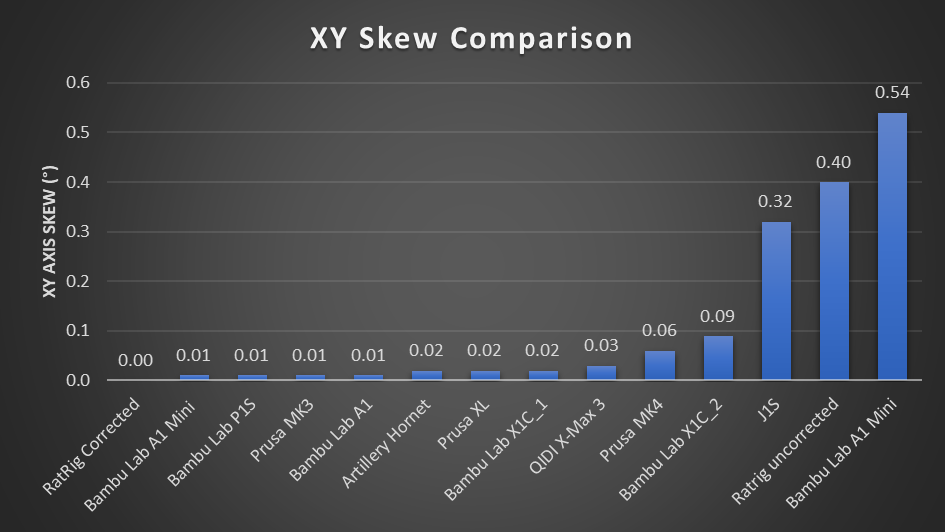
Skew comparison
Looking at these results begs the question, which skew is still acceptable? I mean, if you primarily print esthetic parts, and nothing functional that needs to be assembled, you don’t really need to care about that property. For everyone else, it of course depends on the application, but everything below 0.1° seems to be normal, but skew calibration can get you even closer to perfect!

Calibration Cube for Quality check
I was kind or cruel to the classic calibration cube in the last 15 minutes, but in the end, I think there is still a use for it and this is judging the quality of a printer or a material with a very compact part. Flat surfaces tell you something about extrusion consistency or vertical line artifacts. Corners show you if pressure advance is tuned properly. The upper surface will show under or over-extrusion and the letters will tell you something about cooling and overhang performance. Many other designs will even include more tests. But I hope I was able to convince you that you should never use them to tune the dimensional accuracy of your printer. There are better ways! And something you might not even have considered is that whereas calibration cubes are rather boobie traps, if don’t properly dispose of them, the CaliFlower at least makes a unique coaster for your next party! But what are your thoughts on this? Was this totally new to you, do you still think this is BS or did I speak from your heart? Leave a comment below!
Buy the Calibration Flower Files: https://geni.us/CaliFlower